 |
| The finished item just to entice you in |
I've finished the first couple of buildings for my little village. If you missed the first post about these then you can find it here. Other wise you can carry on reading and see what I've been u to.
Now that I've got my first couple of houses built I need to get them painted. First up was a nice black undercoat. I just use Halfords black matt for just about all undercoating and as I had coated the model in PVA already it took the spray fine. As you can see from the photo the textures are still perfectly visible and you can still see where the engraved timbers are on the lower half of the house.
Next step is block in the main areas of colour. For this I used some tester pots of emulsion from my local DIY store. No point using expensive model paints when you can by a little pot of house paint for quid. They will need two or three coats over the black to give you a decent coverage. I used a yellowish white for the walls, terracotta for the roofs and the visible bricks and mid brown for the woodwork.

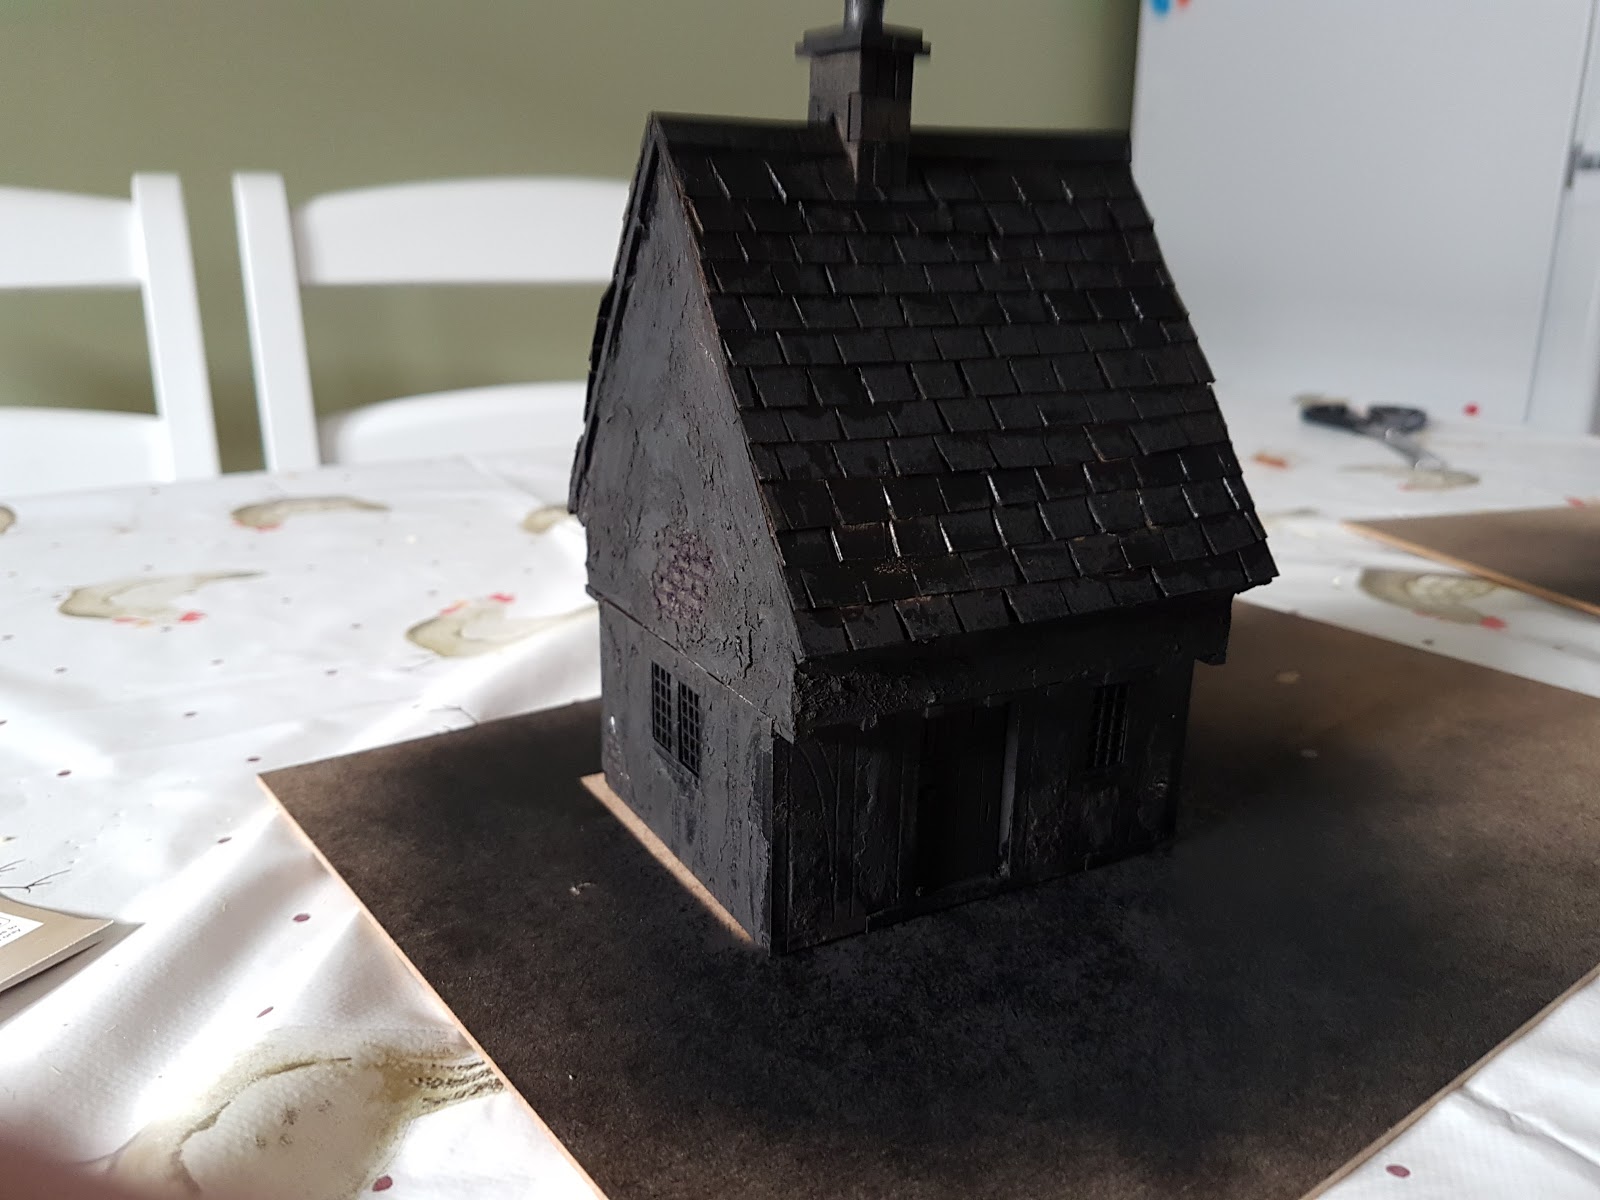
Next up was a dirty wash to give the walls a bit of shading. I used an old pot of Vallejo Sepia Wash that was on it's last legs and added a bit of water and brown paint and gave it a good mix before slathering it liberally all over the models.

As you can see it brings the texture of the filler/rendering out pretty well. At the moment it looks pretty mucky but that will fade as we build up the colour on the walls.

After the wash had dried I started to dry brush the walls, firstly with the original colour and then adding white to get lighter tones. Again the white just came form a tester pot.

With the timbered house I left the timbering till after I had finished drybrushing the walls and then went back over the timbers with the brown.

The timbered sections and the roofs also got a couple of coats of drybrushing but this time adding in a little of the off yellowy/off white.

At this point they are looking a little 'Freshly built' so we need to add a bit of detailing and weathering to them and then I can built them onto a base.


And here they are. Pretty much done. Next up is some bases for them.
You are really getting after these. They are looking really good. ;)
ReplyDeleteGreat looking houses,I am tempted to have a go.
ReplyDeleteAh, looking awesome!
ReplyDeleteBird poop? You were so detail oriented you remembered bird poop?
ReplyDeleteI see execution with that level of attention, and I feel like I'm faking this whole modeling thing.
Great stuff!
I suggested bird poop! Well, WP may have already thought of it, but I definitely mentioned it again!
DeleteThese really do look the business. I'm really pleased to see you haven't ended up with identikit houses, but a pair of very different and characterful ones. Looking forward to seeing more.
ReplyDeleteImpressive! These make for great "well-off peasant" houses, I like the half-timbered one the best.
ReplyDeleteRealistic and superb, excellent job!
ReplyDeleteVery nice indeed.
ReplyDeleteI’ve been your silent reader for quite some time and now I’m delighted to say that I’m inspired by your articles. You have shared very valuable information and knowledge that people should recognise. Thank you for sharing. I would love to see more updates from you and maybe collaborate with you as well. Maybe you can Contact Us if you need some insight from us too about this.
ReplyDelete